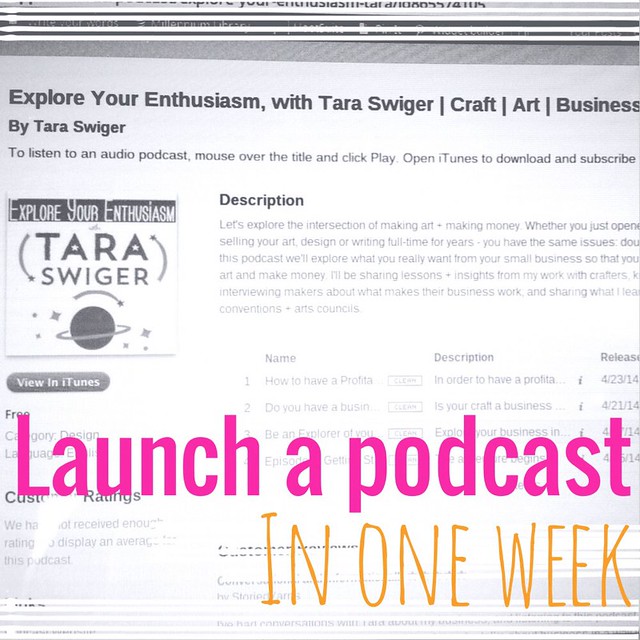

I mentioned yesterday that I love podcasts and that I've long wanted to start my own. The truth is, I started working on one THREE years ago. In 2011, I took a great class with Diane, that taught me everything I needed to know about starting a podcast. I bought a travel mic. I sent a million emails to friends about what I wanted the podcast to be. When I went to Chicago on a trip for a client, I interviewed two of my long-time fave crafters (their interviews will eventually be on the podcast).
But then..the idea withered. I know myself: I failed to follow my enthusiasm and just make it, so I got bogged down in the details and never moved forward.
When the idea hit me again I sat right down and wrote out all the reasons I shouldn't do it (that's a short list). And then I wrote all the reasons I should do it. I wrote what the podcast would be about. I wrote a rough outline of my first podcast. And I sent an email to Heather asking if I had the different steps of it right.
The next Monday, I decided: Yes, I'm going to do this project. I recorded the audio, recorded an intro, edited it together and by Thursday had it all uploaded and ready to launch. The day after I got everything set up, Elise wrote this great post about how to launch a podcast on a Mac. I use a slightly different workflow and set of tools, so I wanted to share that with you.
This is rather long, so instead of reading it all and getting overwhelmed, I strongly recommend that you save it (maybe pin it?) and open it back up when you're ready to start your podcast.
Here's an overview of how each episode moves from your brain into your listener's devices:
- You record it, edit it + send it to where it will live on the web (where iTunes will “read” it from).
- You write the summary + title, then publish the episode on that platform (or you schedule it for the future).
- When it goes live, iTunes (+ all other podcast readers) will “catch” the feed and post it on their site with the information.
- Subscribers will magically have the episode!
How to launch a podcast in a week.
- Decide what you want to talk about.
Make a big list of possible topics. Figure out who you're making this for and what you want to say. (You could use Craft an Effective Blog to generate topic ideas!) Now, summarize all that for your first episode. Listen to a few of your favorite podcasts to get a feel for the organization of it all. What do they say at the beginning? The end? Write down a general outline of what you want to say (be as scripted or as free-flowing as you like).
- Pick a name.
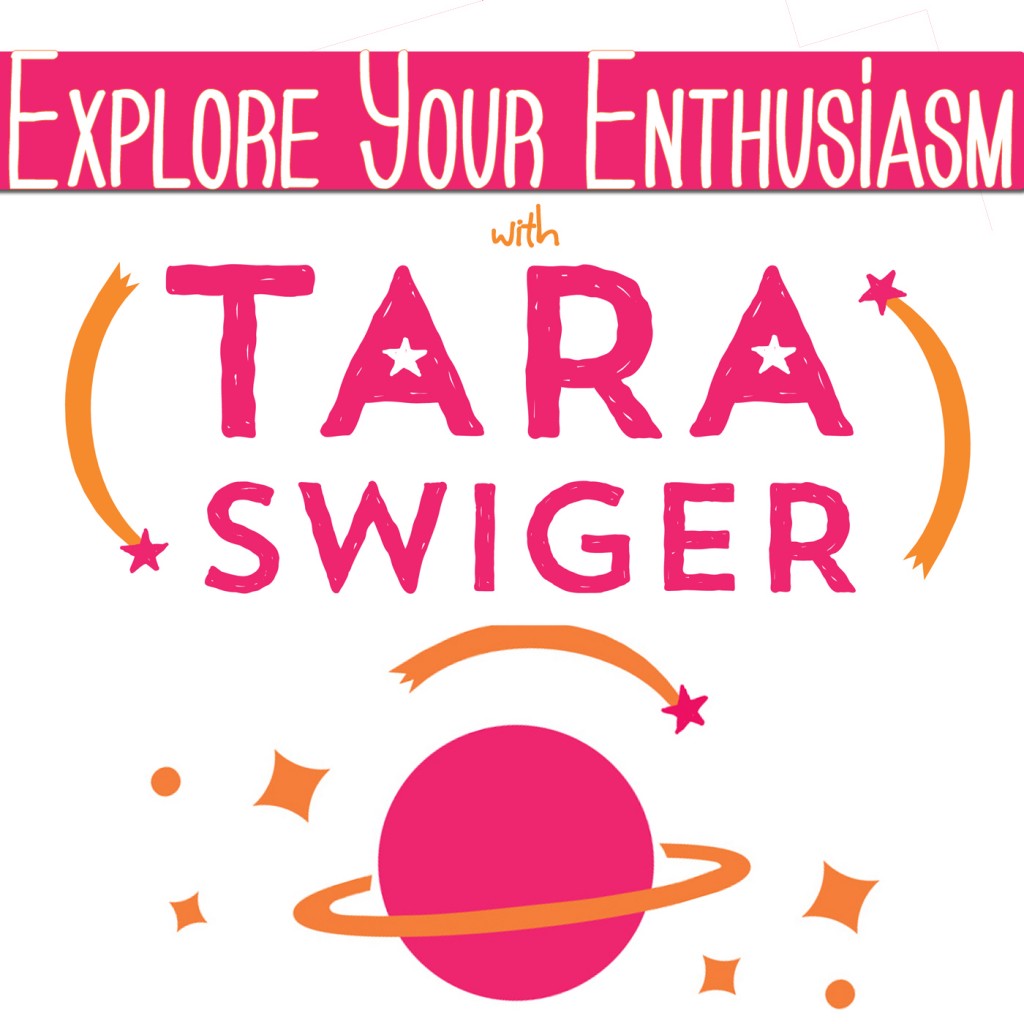
This took me forever, but don't stress about it. If your blog has a name, go with that. If your Etsy shop has a name, go with that. (I'm just “Tara Swiger” everywhere, so I had to find something new.)
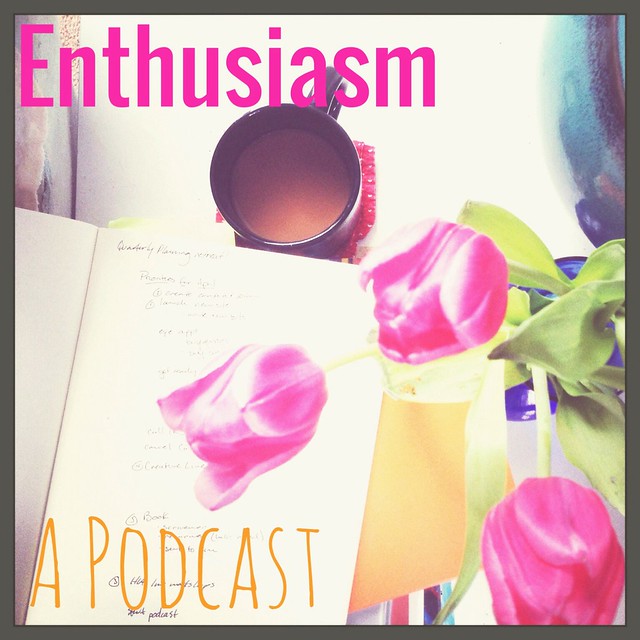
- Make a cover image.
It needs to be 1400×1400 and still look good at 150×150. If you're totally new to image design, hire someone. (This should be pretty inexpensive. You can find lots of designers here.) Or just put the name of your podcast on a colored background. Really.
- Set up your recording + editing + feed.
-Set up an account on Libsyn (I went with the cheapest: $5/mo). Put the name of your podcast and the summary in there.
-Set up an account on Auphonic (free!) then download the Auphonic phone app.
-Go to the “services” page on Auphonic and add your Libsyn account. This will send all of your episode to Libsyn. (This makes everything so super easy.)
-Also set it up to send recordings to your Dropbox/fttp/computer (wherever you wanna save your files).
- Record your first episode.
-Open the Auphonic app and click the big Record button and start talking. I recorded the first episode ON MY PHONE.
-Save the recording + name it.
-If you want an intro and outro to be the same on every episode, record each of those and save them.
– After you're done recording, click “Start Production” on your episode file. (You can do this on your phone, or on the web app.) If you recorded an intro and outro, put those in the intro and outro section. On this production page, you'll name the episode, write a summary, etc. Be sure you've selected Libsyn in the outgoing file, so it's sent automatically.
-Click “Start Production” at the bottom of this page. Your file will be edited + sent to Libsyn. Yay! You're all done creating the audio file!
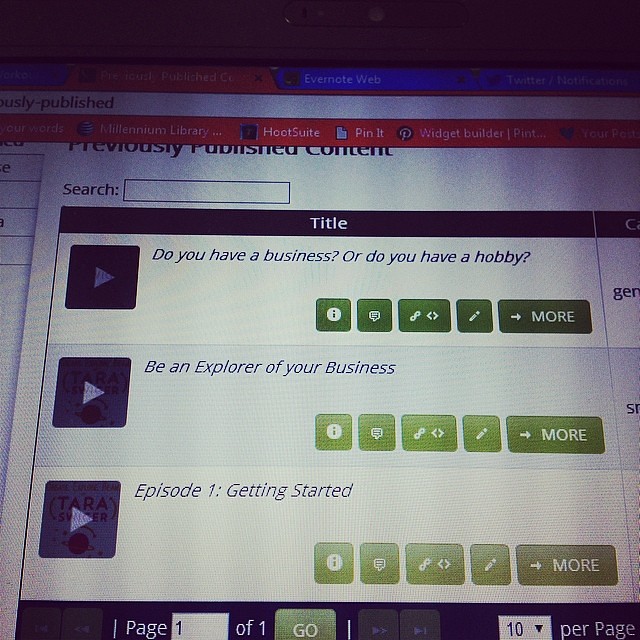
- Your episode will soon be in your Libsyn account.
If you need to, edit the title, summary, etc and publish it (or schedule it).
- Submit your feed to iTunes!
Libsyn creates the feed with all the details you've already put in, so you just need to copy + paste the feed onto iTunes. (Your feed will look something like taraswiger.libsyn.com/feed).
- Wait anxiously for their approval.
- Share it with your friends + customers!
This list may seem long, but none of the technical things will take any more than 10-15 minutes each.
Once you've done this the first time, you only need to do Step #5 + #6 for all future episodes. Two steps!
What takes the longest: YOU – deciding on what you want to say, what you want to call it and how you want to describe it!
Here's how it worked for me, in a normal work week where I did a zillion other things, including proposing and landing a new contract for a teaching opportunity.
Monday: Decided on a whim what it would be all about (after three years of thinking about it on and off).
Tuesday: Set up all accounts, made image (with a name I decided to change), recorded intro (with the wrong name), recorded first episode.
Wednesday: Did lots of other work. On my breaks, turned my YouTube videos into podcast episodes.*
Thursday: Asked Twitter what to name it. Decided on something else entirely. Redid the image with the new name. Rerecorded intro. Re-edited first episode (I just sent the original file back through Auphonic, attaching the new intro + outro files) – all from my phone. Edited the feed page with a longer description. Submitted the feed to iTunes.
Friday: Waited! When I got the “you've been approved” email, I sent the link to two friends to test. Tested it on Jay's phone with the Podcasts app. Tested in on my phone with Downcast. Wrote the introductory blog post. Danced around!
*This took me some research, so let me tell you how I did it.
How to turn your own YouTube video into an audio podcast:
- From your Video Manager page on YouTube, download your video as an MP4.
- In Auphonic, add the MP4 as your audio file. Fill out the details (summary, description, intro, outro). Make sure it's set to send it to Libsyn.
- Click “Start Production.”
- Bam! That's it! Now it'll be on Libsyn just like any other podcast and you can schedule it for whenever you want!
Your turn?
Ready to start your own podcast? If you do, I'd love to hear it! And if this tutorial helps you create yours, PLEASE leave a comment with a link to your show!

