Confession: I have a new secret crafting love.
It's a secret because, well, it felt a little 90s to admit that I have been…memory-keeping.
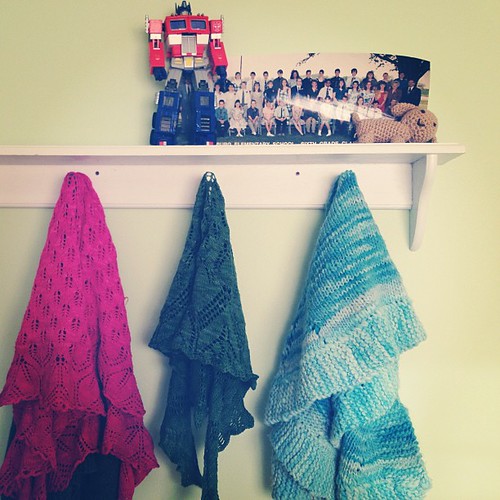
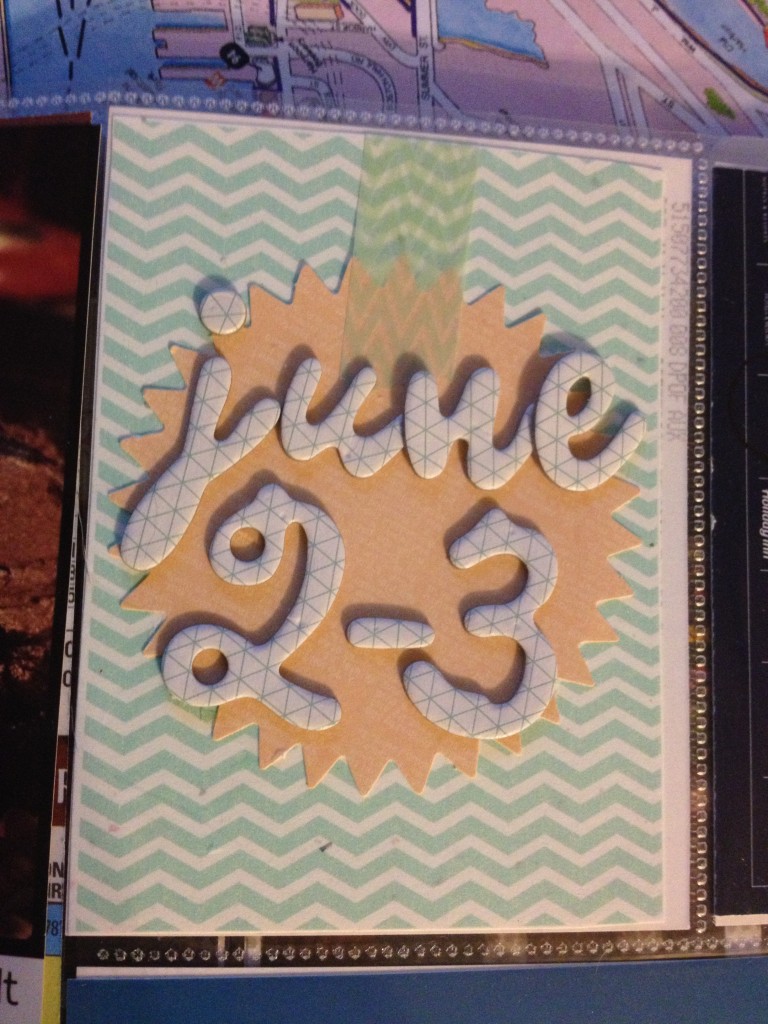
the title page
A decade after giving up on any kind of scrapbooking (the more I developed my own voice, the fewer things I found that reflected it), I found myself unable to click away from Becky Higgins' Project Life system.
Because it's so simple. And I didn't have to use teddy bear stickers. And there was sooo much great inspiration. Like this one. And this one.
But the real reason: I take over 300 photos every month, and I was doing nothing with them.
When Instagram came along, I was thrilled to have a way of sharing them. But let's face it: my family is not on Instagram. My parents, my in-laws, those aunts, uncles, grandparents – they're not even on Facebook. And those are the people I wanna share photos of my dog being cute with, or that great restaurant we just found. Not the entire internet.
And those are the moments I want to remember…but I never open my old photo folders on the computer.
Project Life hooked me because it was so specific: print enough photos for these slots each week. And then move on.
That's it.
It's not open-ended or vague or someday.
It's right now. This week.
But I debated (with myself) for a while because I don't have kids, and so many people use it to document their kids. Which is great…but it made me wonder – is our life interesting enough to have photos every week? I mean, I find our life fascinating…but will I have enough photos each week?
And then I found Elise and Kelly and Amy. They aren't using PL to document kids and I love looking at their pages.
So I tried it, and it was magic.
It reminded me all over again that I love our life. Exactly as it is. Yes it's stressful and messy and it feels unfinished most of the time (the business is growing, we want to buy a house, have a garden, maybe move, the list goes on and on.) But this our life now. This is our family now. This is my work now. This is our home now.
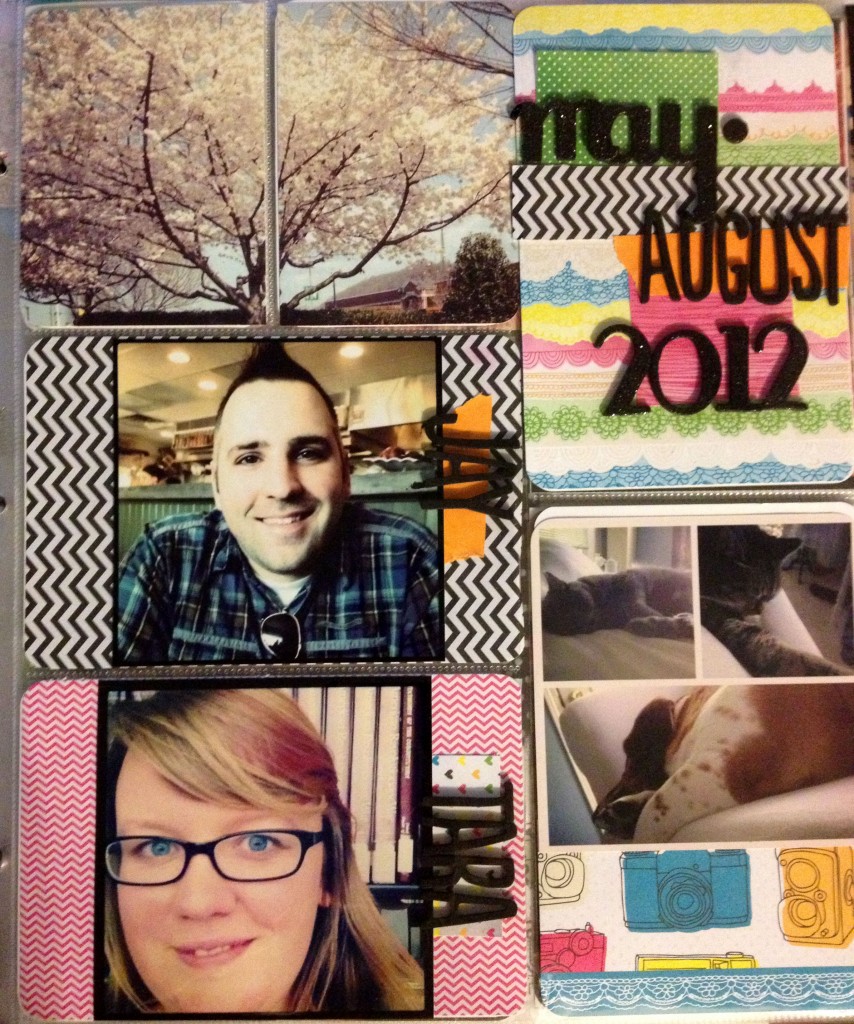
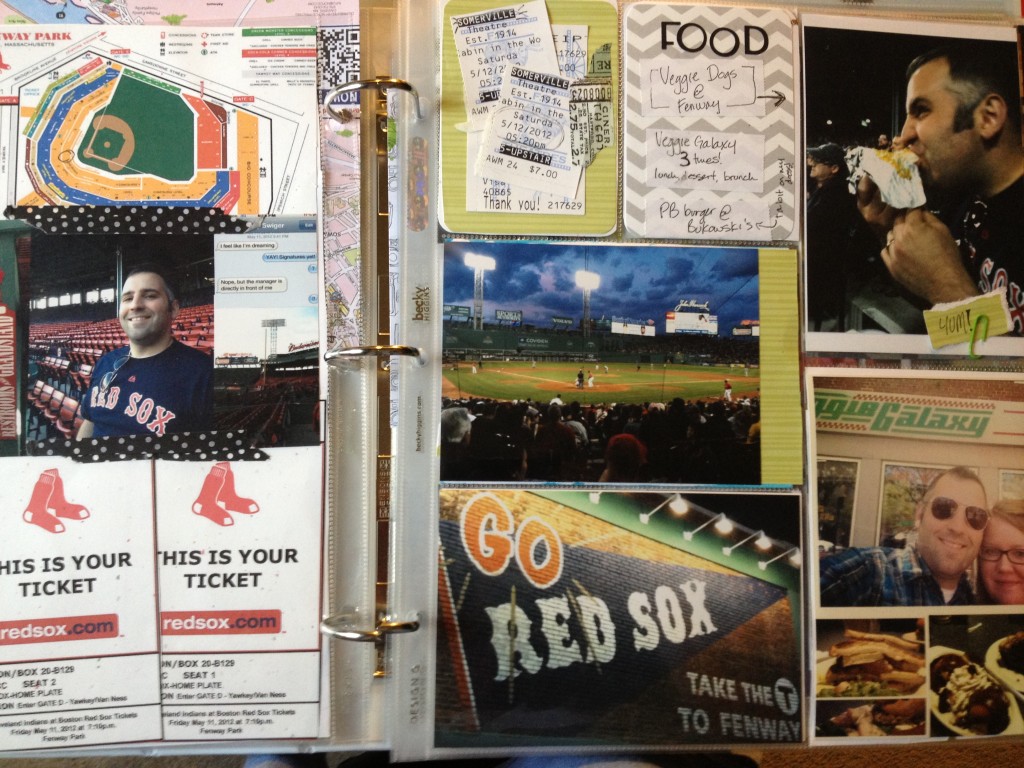
Not to mention: travel. In the 6 months since I started Project Life, I've been to Charleston, Boston, San Diego, Seattle, the Oregon coast, the redwoods, and local towns (Asheville + Knoxville + Cookeville + Cleveland, TN) multiple times. We've gone to two Red Sox games (at Fenway + SafeCo field), Dollywood twice (yes!), my book launch, a funeral, a dad's 50th birthday party, and a grandpa's hospital bed. I wouldn't be able to remember all that, or what it looked and felt like, if it weren't for Project life.

And then there's this other, less-tangible reason.
I live in my head and on the page. I'm either thinking, reading, talking or writing. And when I do it all digitally, there's no proof. There's nothing tangible. I love making because it creates something physical, something outside my own head, a thing that I can hold on to, show you, give you. Project Life lets me do this with my memories. It gives me and Jay a way to remember that car ride, or the first time I met my newest friend, or the way the animals kiss each other.
How I do Project Life
When I started thinking about Project Life, my very favorite posts were those where someone completely outlined their process. This made the whole thing more do-able and less scary, so I'm going to share my process here.
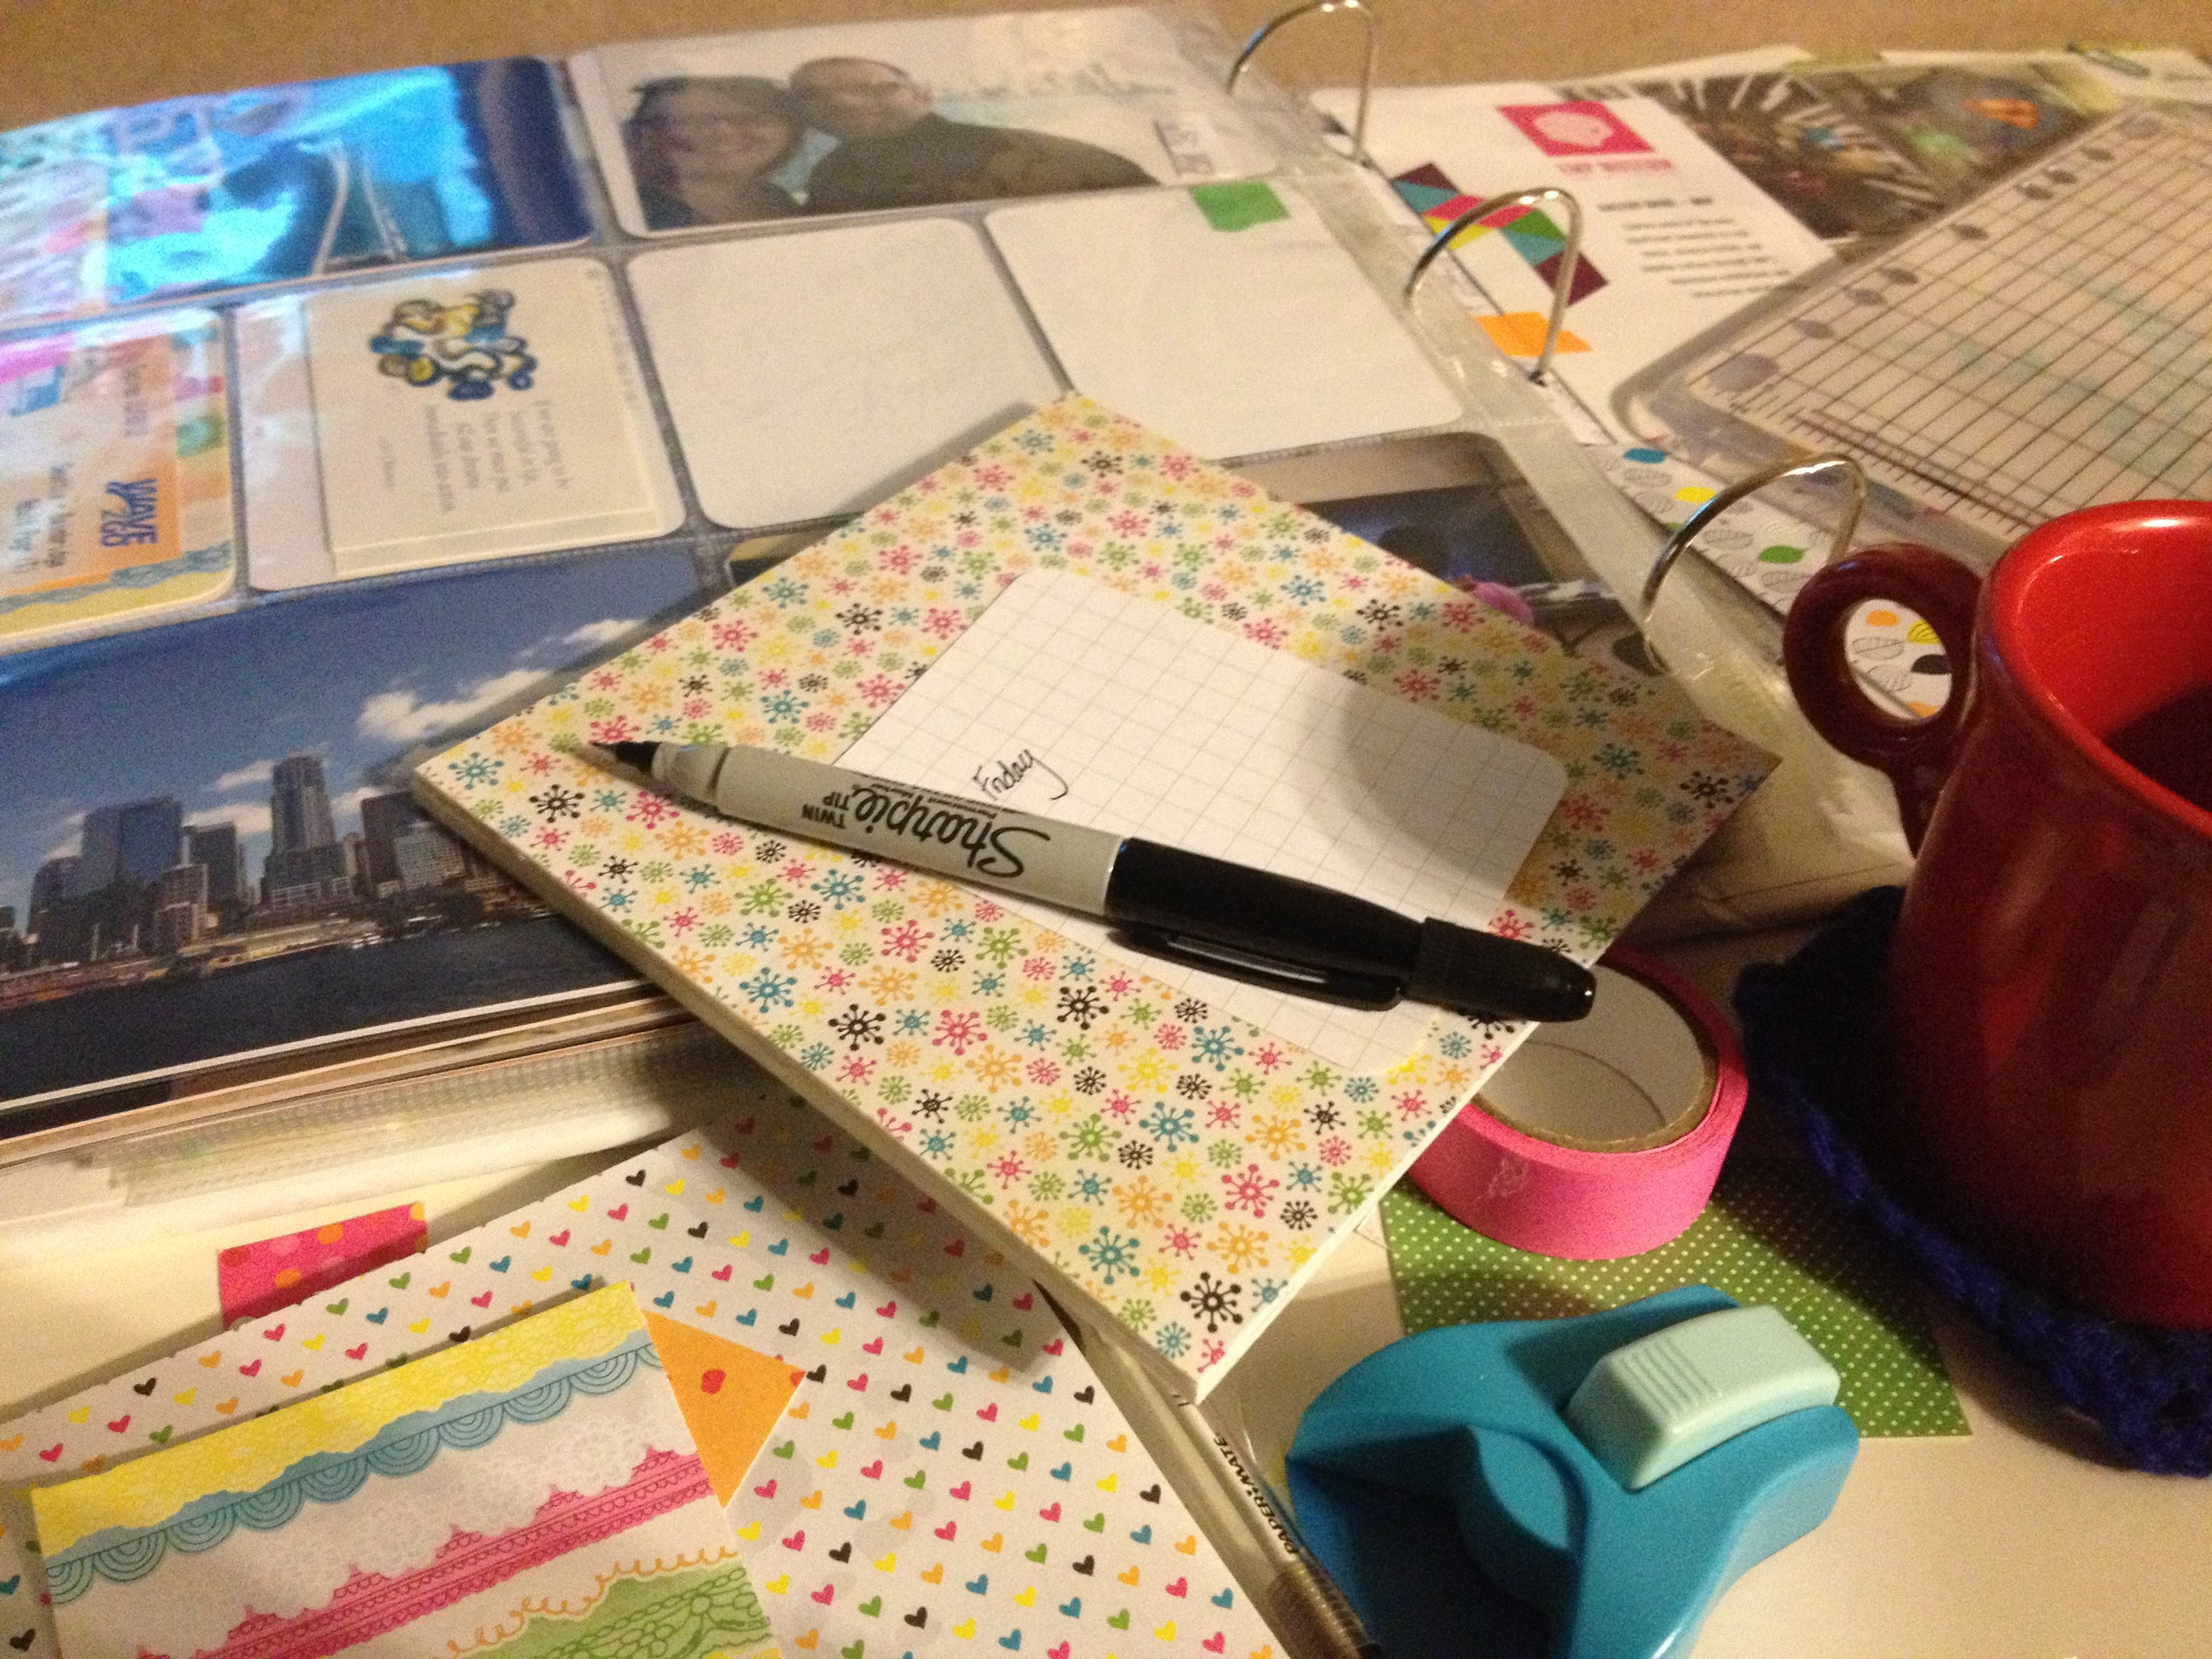
First of all, I have my phone photos set to import automatically into Dropbox, so my pictures are always on my computer. Each week (somewhere around Monday or Tuesday), while I'm working at the computer, I take a break from work and open up my photo folder. I pull out my journal and make a little outline of what the photo pages look like. I open up Walgreens.com + log in.
I check the calendar and then flip through the photos the first time, to see what the major 'events' were. Some weeks it's travel, but most weeks it's just normal life stuff. Maybe I worked on a quilt, or baked a lot of cookies. When I see a photo I love, I upload it to Walgreens and scribble it on the template of the layout. I may actually put the photos in the sleeve in a different way, but the template lets me know that I do have a picture for each slot.
If all my photos are the right orientation for the layout, I can do it in as little as 10 minutes. If I have a lot of Instagram photos I want to print (which are square), it takes a little longer because I have to put them in a 4×6 template so they print correctly at Walgreens.* I just open up Photoshop, open a new document that's 4×6 and 300 dpi and drop the photo into it and resize. If I want to put the photo in one of the smaller 3×4 spots, I resize it to take up half of the 4×6 template, and I put another one in there with it (so I can print two at a time).
*Sometimes I print square photos, but I don't like to wait to get them in the mail. I've used + liked MoPho.
I upload it all to Walgreens and complete my order. Most times, if I'm only printing a week's worth, the cost is under $2. I often add in photos that I know my mom or mother-in-law will love and print a few for them too. (Neither of them print photos, so they love this.)
If the very mention of Photoshop sends you running for cover, be encouraged. You totally don't have to use it! Just take pictures to fit in your sleeves, and leave a bunch of “white space” in a photo you want in the smaller spots. That's it. When I'm travelling for a long while, I don't even worry about where they'll go, I just print 4-7 horizonatal photos, right from the Walgreens app on my phone, to the closest Walgreens.
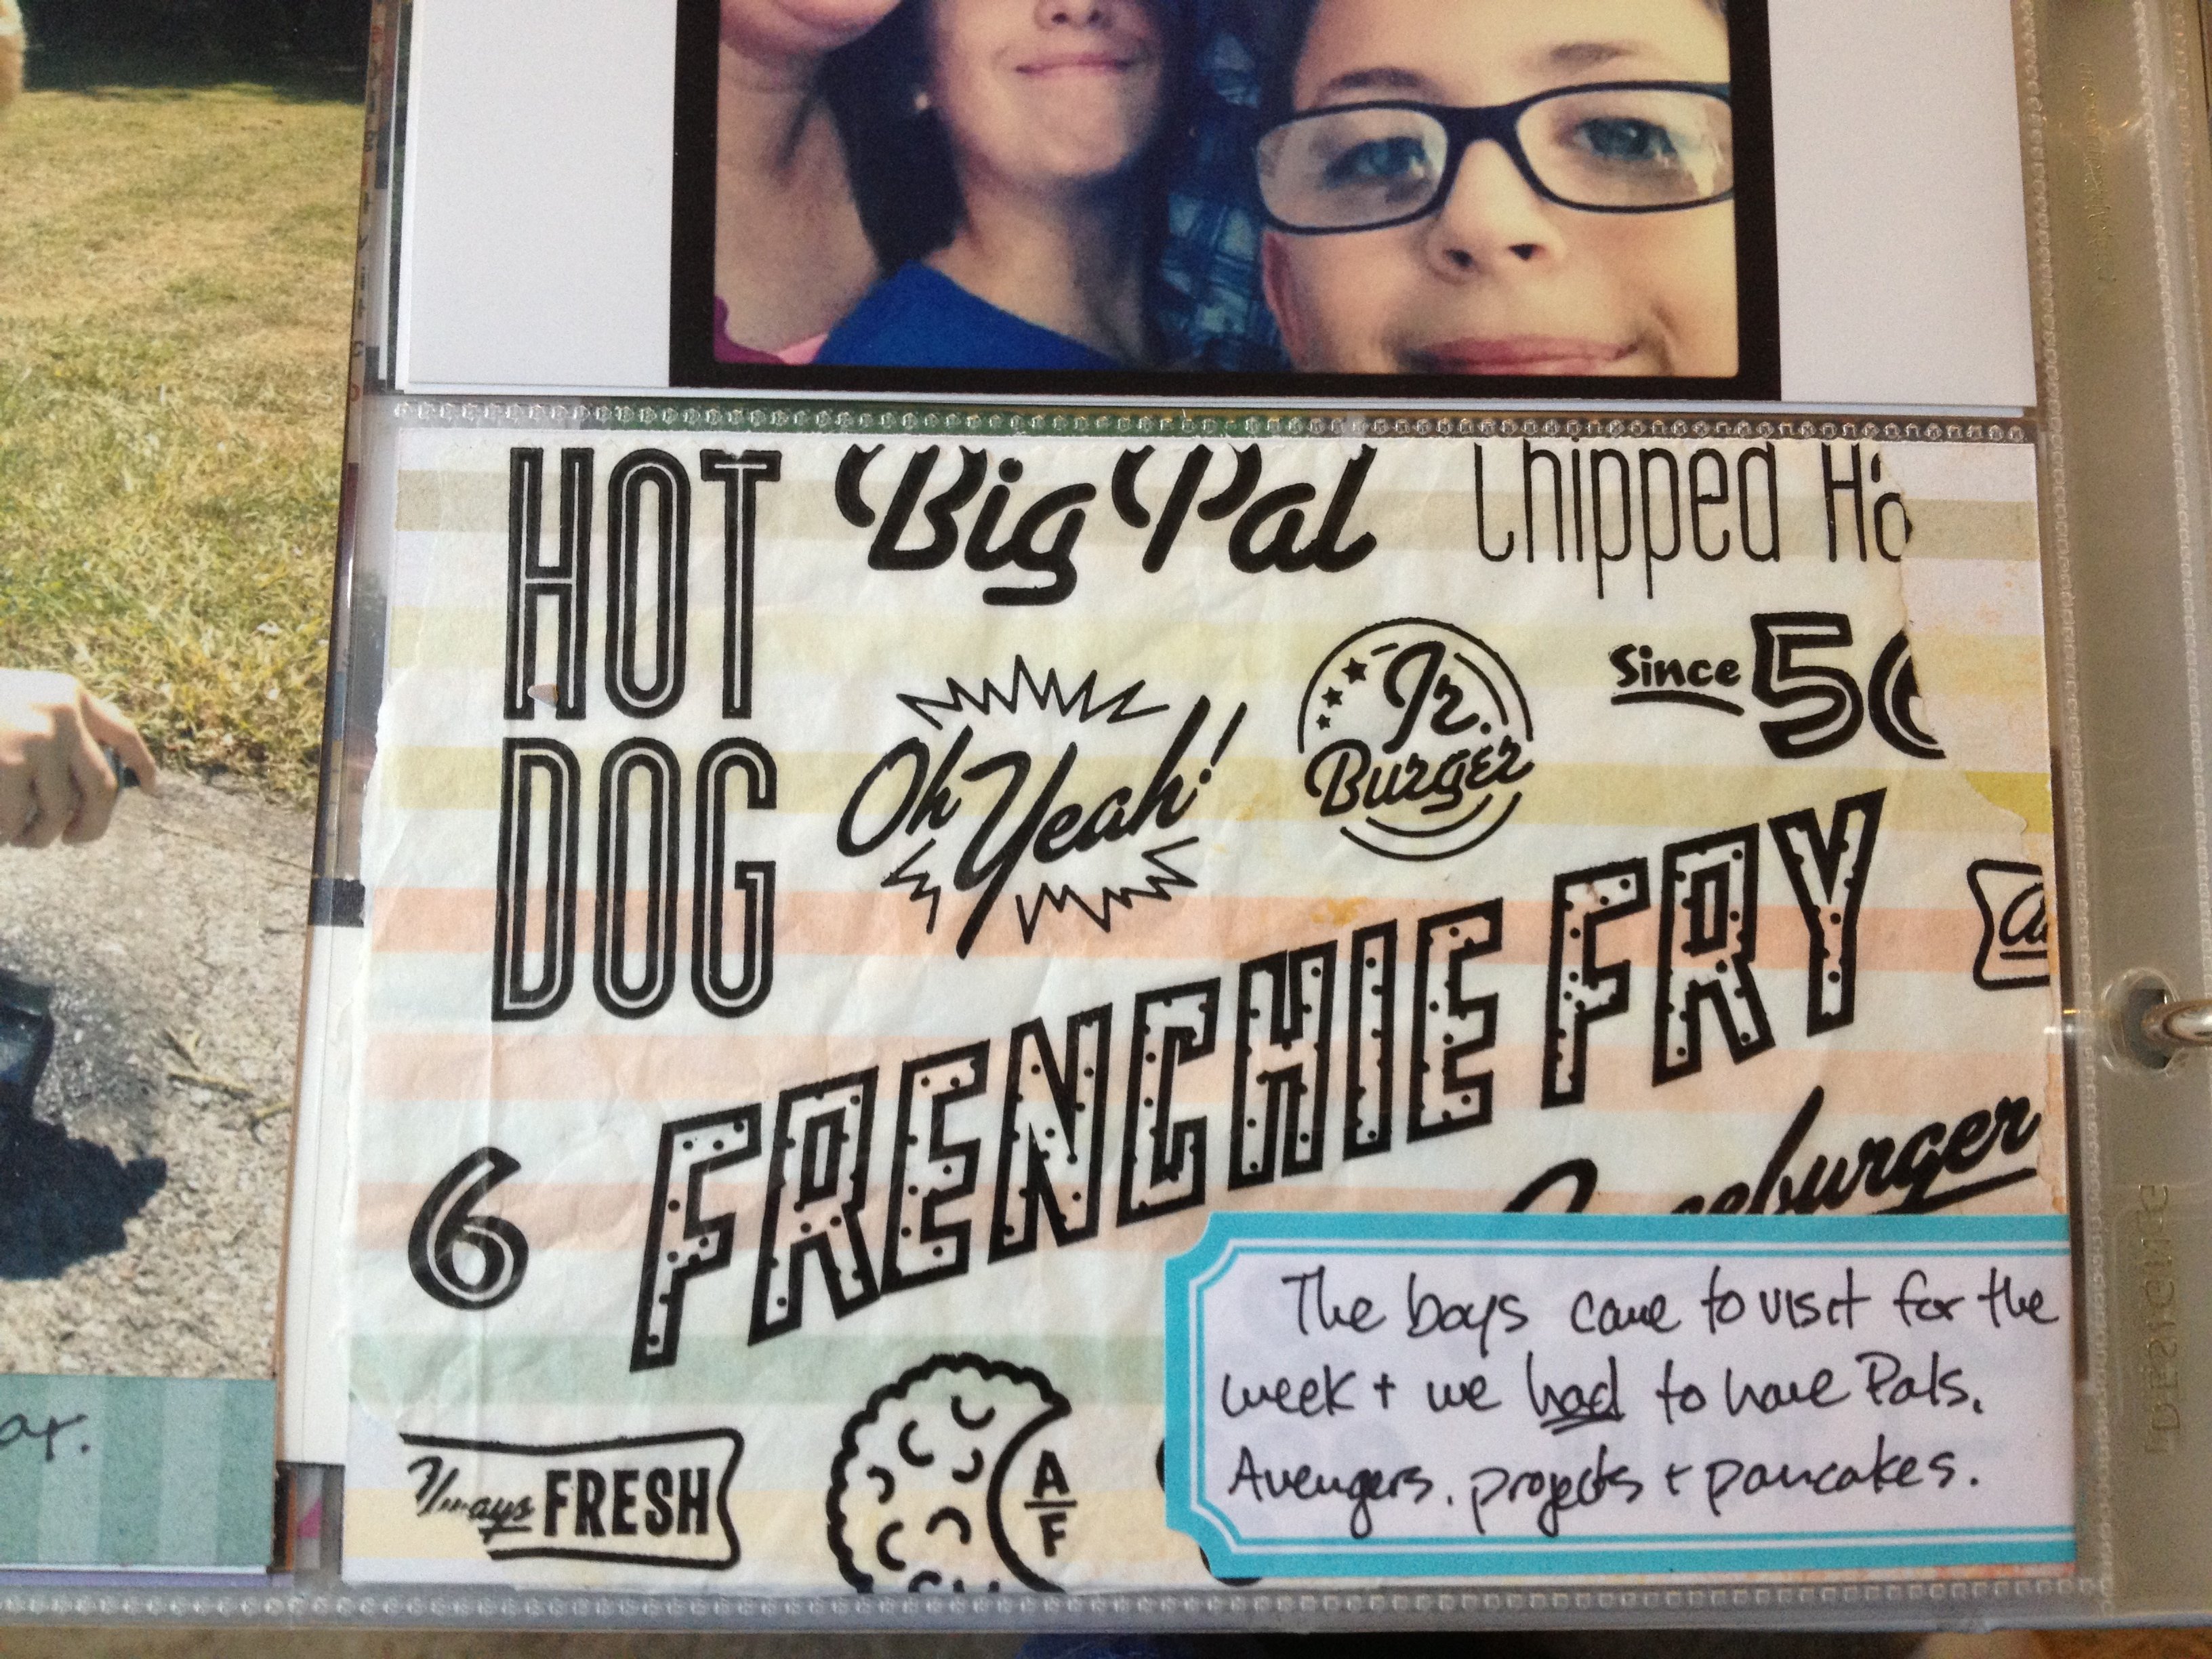
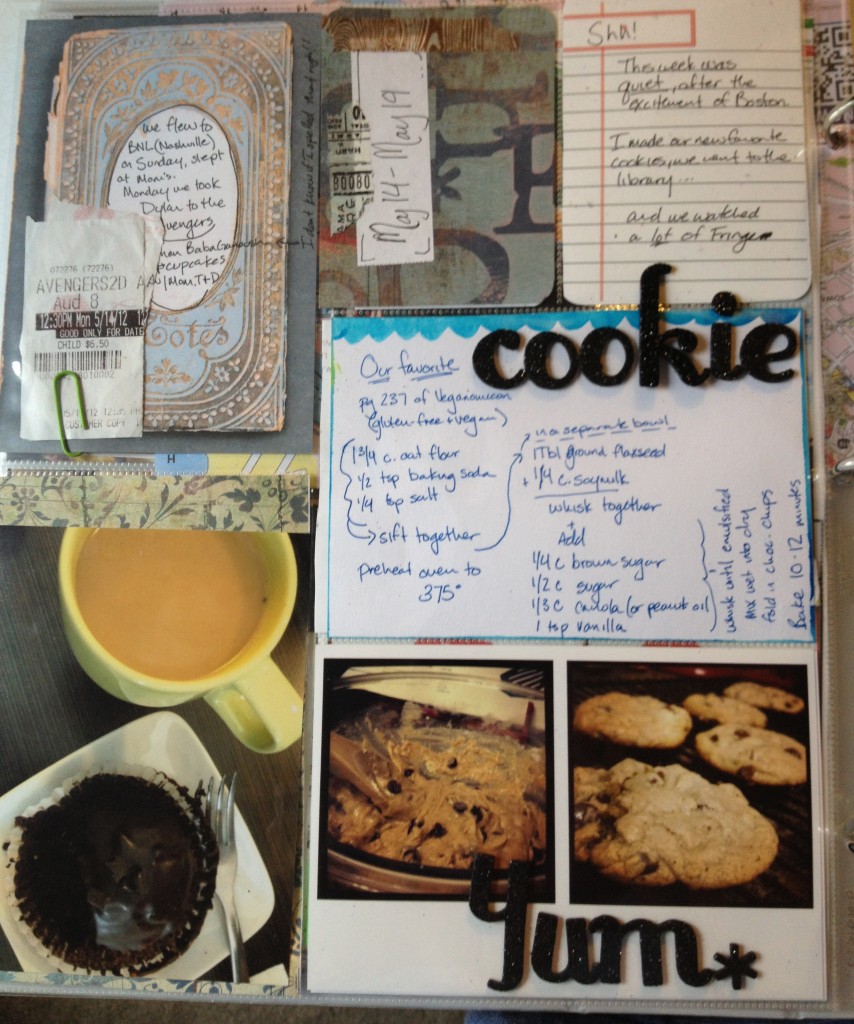 A week I didn't take many photos…but now I have my favorite cookie recipe!
Once my photos are printed, I'm usually so excited by looking at them, that I open up my book that night and start sliding them in. For most photos, I round the corners and pop 'em in the slots. I look at what other slots are left, and then I look through the “other” stuff we have from the week. Jay's learned to put all ticket stubs, funny bits of paper and pretty packaging in one spot on my desk (right next to the Project Life book), so it's pretty much all together. I find a paper from my stash that matches the photos or the mood, and cut it into size to fit the empty spaces. I think about what I want to say about one or two of the photos and write it on a label. If Jay did something special that week, I give him a label and ask him to write about it. By “write about it” I mean 2 or 3 sentences, so there's no pressure to be profound or even interesting.
And that's it! I don't do it every week (sometimes I'm so busy creating a new thing that I forget all about it until I've already closed the computer for the day), but catching up a few weeks later gives me a chance to reminisce over “old” photos.

Used a french fry bag from the local chain as “paper”.
The stuff I love

- Amy Tangerine 6×6 pad – She's the only person designing stuff bright enough for me, that isn't all girly all the time. The 6×6 pad is the perfect scale.
- Use-anywhere stamps. I love Elise's, Kelly's and some of the Studio Calico stamps (especially arrows, stars and other stamps that let me say “I'm talking about that picture there.”)
- Colorful tape. Target had a 6 pack of neon tape in their kid stuff (next to the markers) and I LOVE it. I use it for everything (and I'm including it in every real-mail Holiday Sanity kit.)
- Thicker alphabet stickers. Especially this font. I wish they made this in every color. (I hate the cardboard or sparkle thickers, they don't stick and they end up on our socks, on the cat's belly, and three weeks later they stick in my hair as I pull on the shirt that was washed with the socks that picked it up, and I go around all day with an “L” on the back of my head. My reputation as the weird girl at the coffeeshop is safe.)
- A black and a neon pink double-tip Sharpie.
- Project Live photo sleeves
- Project Life White Signature binder
How I keep it fun
I'm notorious for dropping long-term crafting projects (like, say, knitting a sweater), so I knew I had to keep this simple and a part of a normal week in order to keep going. Here are some of the things I do to keep it fun:
I don't worry about the number of the week.
A lot of Project Lifers started at the beginning of the year, so they number their weeks (like this.) Since I started in the last week of April, I don't worry about what week of the year it is (also, my brain just doesn't work that way.)
I don't care about the length of a week.
Some two-page spreads cover 10 days, some cover 2 (like my birthday weekend of fun). If I forget to take pictures during a hang-around-the-house week, I just combine it with the next. If a 10 day trip is epic, it may take up 3 spreads. It doesn't matter. All that matters to me is that I date the pages somewhere, and that I remember the stuff I want to remember.
I do what I feel like doing.
If I want to stamp, I stamp. If I want to make it bright, I make it bright. If I just want to put the pictures in there, I do that. I worried for a while that Jay might not like it..but I realized that as long as I didn't stick a pink flower on his head, he don't care. He loves looking at the pictures, but I don't think he even sees the other stuff. And he LOVES that I love it.
I don't have a kit, but…
When I started, all of the kits I liked were sold out. So I've just cut up paper I already had to fit in the slots, and put labels on them for a blank slate to write on. I've used old scrapbook paper (remind me to tell you about the scrapbook store I worked in, in college), water color paper, copy paper, my old paintings, junk mail, wrapping paper. Whatever. I've experimented with a few things, but there's very little I actually like the look of for the long-term. However! It'd be a lot faster if I had a kit, and I am so looking forward to the Seafoam kit.
And I leave you with a quote that sums it up perfectly:
“We’re not aiming for perfection, people. We are aiming to document life.” – Becky
How about you?
Do you print your photos? What do you do with them?